

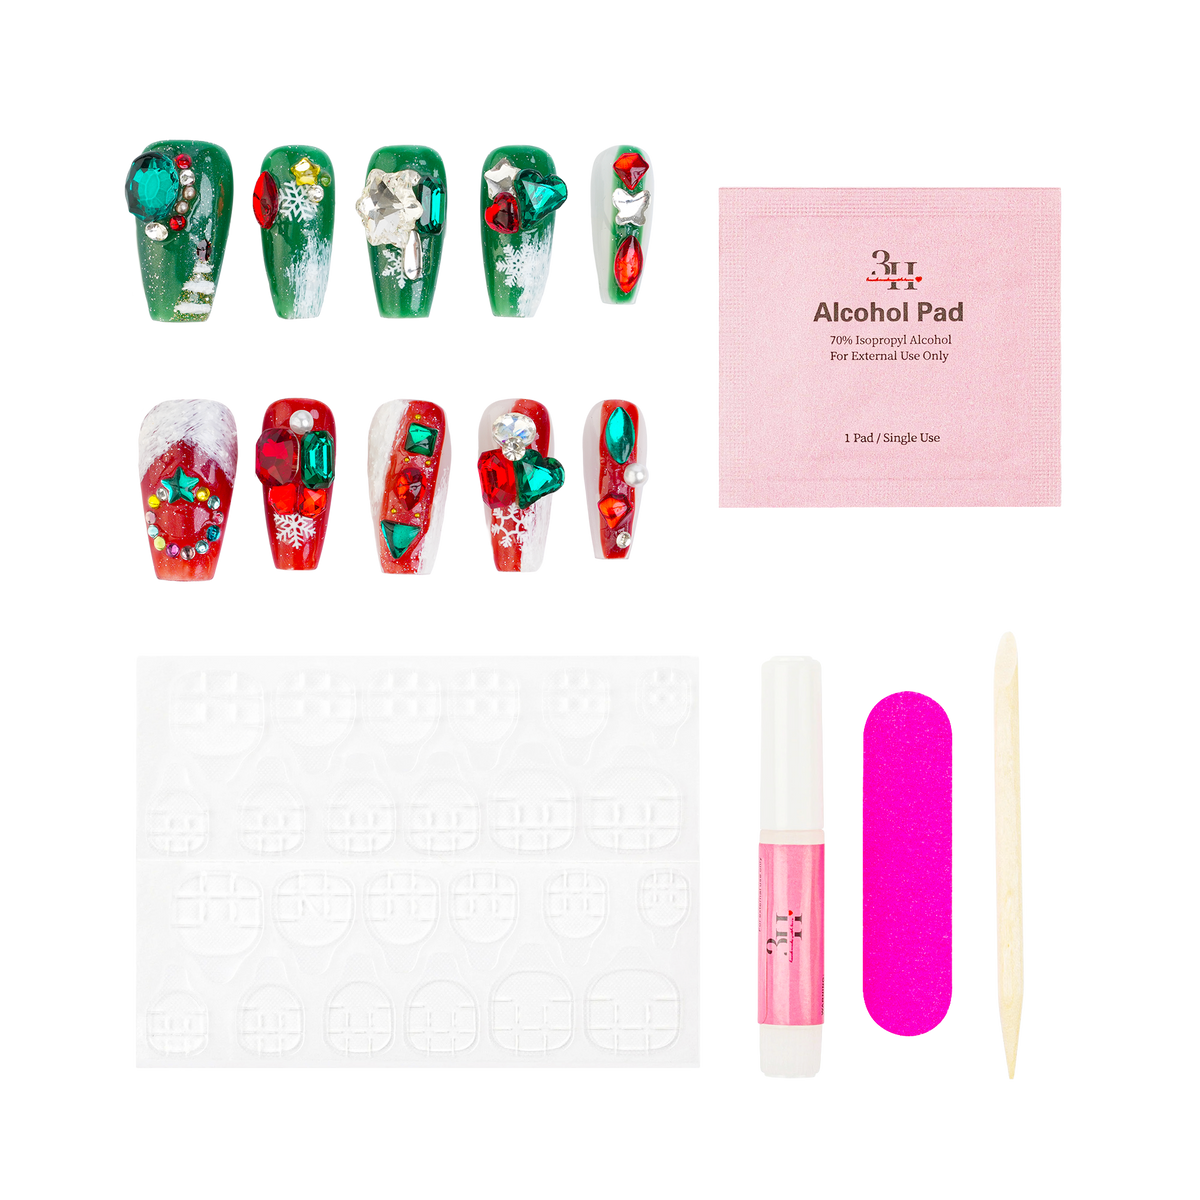
Jingle Gems - Long Coffin Press-On Nails
Buy 2 sets, save 10%. Buy 3 or more, save 15%.
Mix and match any styles
- In stock and ready to ship! - order soon!
Free shipping on orders over $55
Ships within 1–3 business days
Unopened returns accepted within 14 days
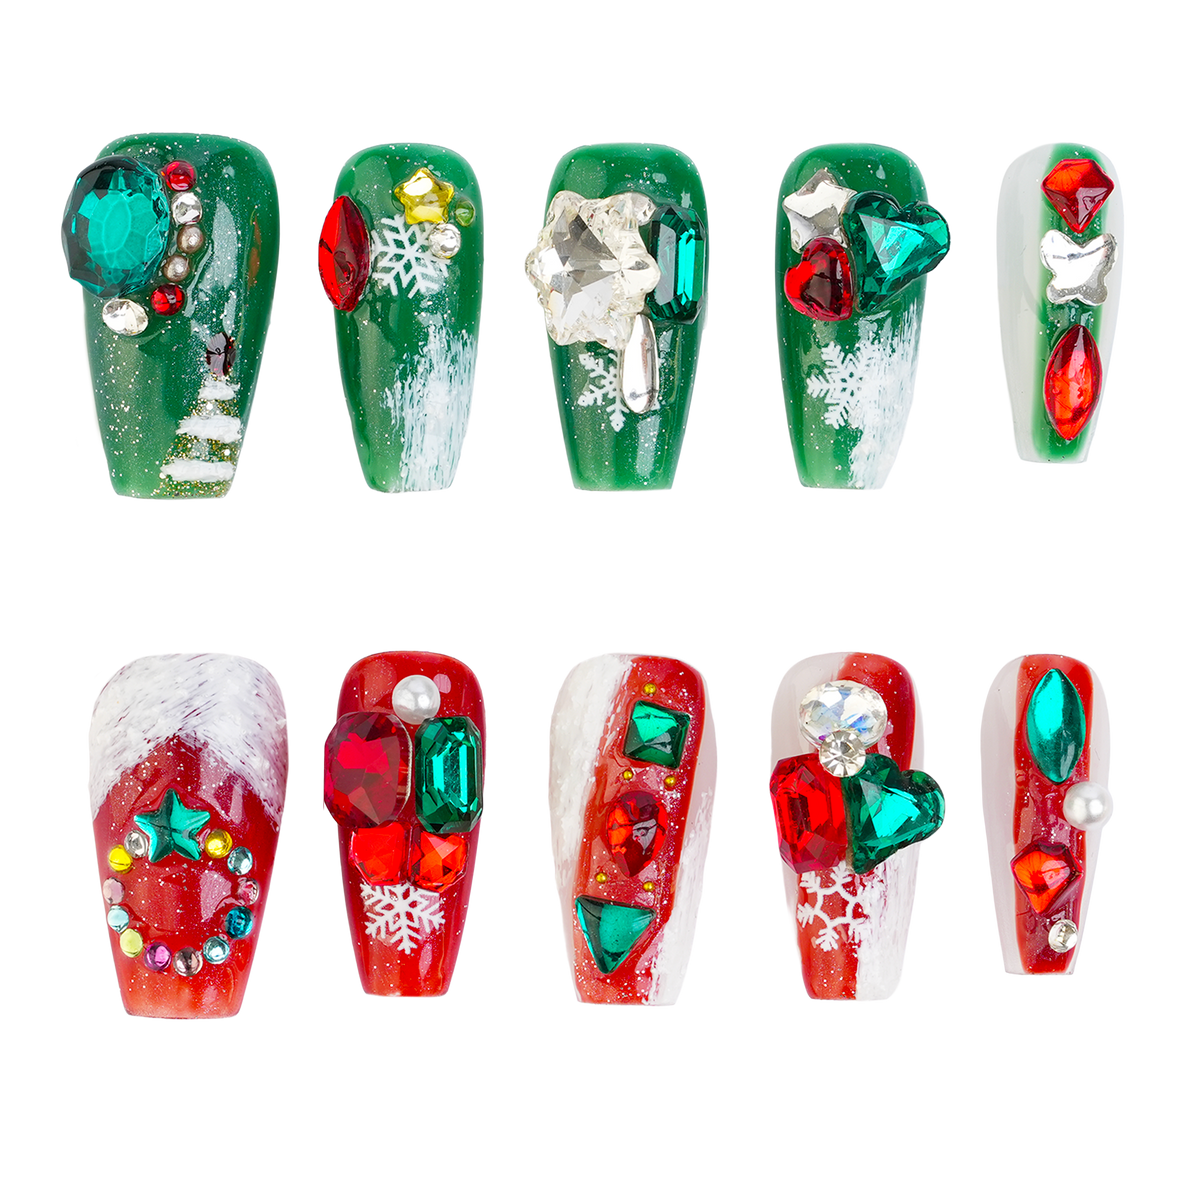
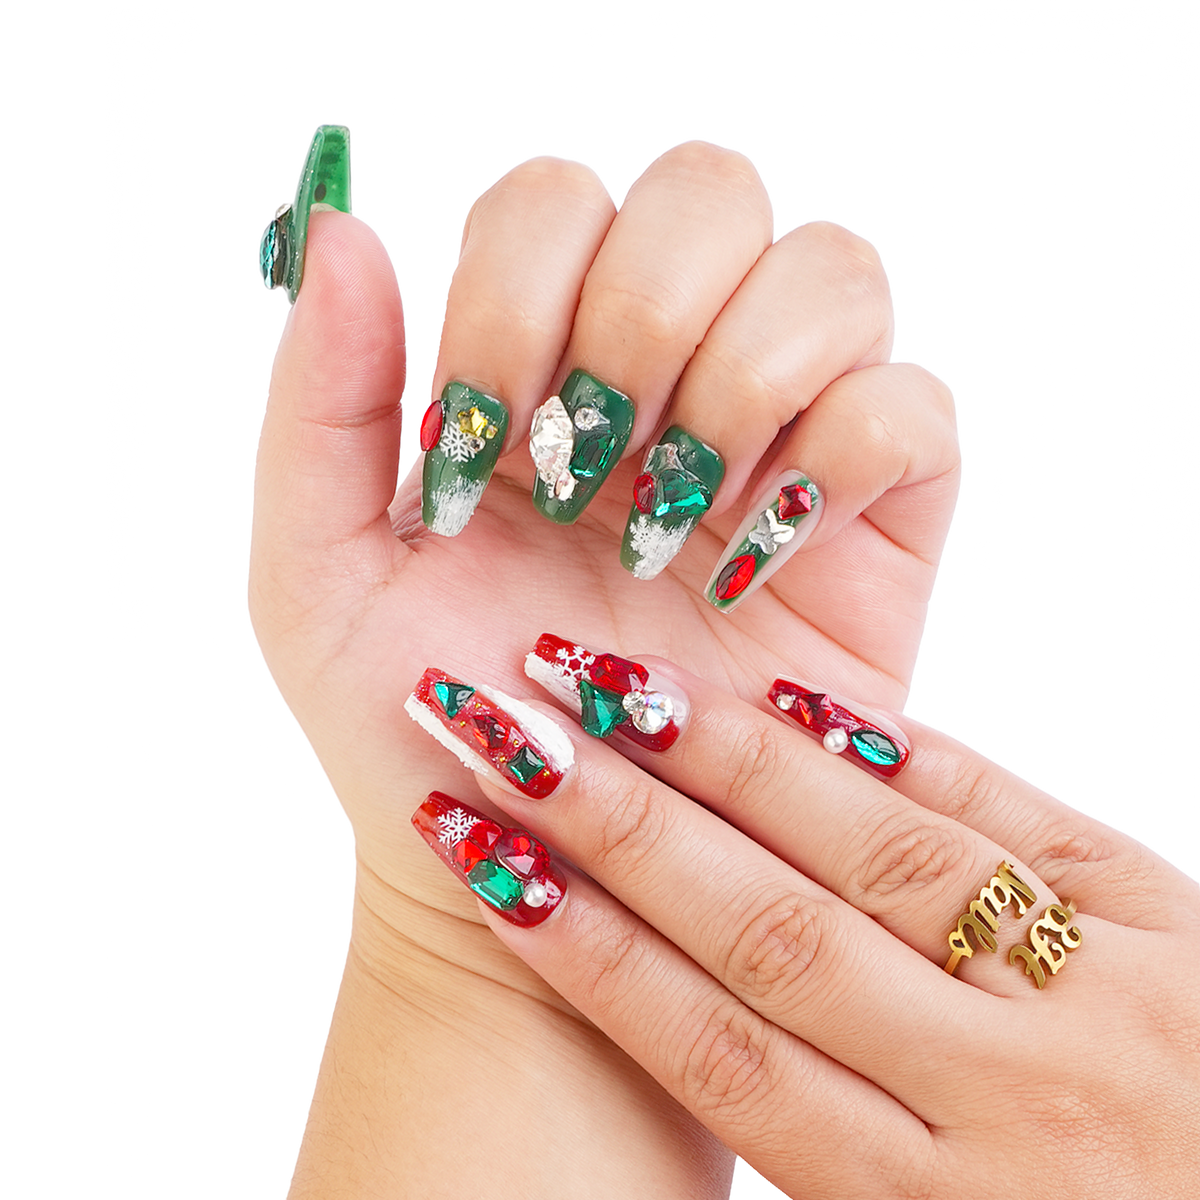
- Handmade long coffin holiday press-on nails with red and green jewel-inspired nail art
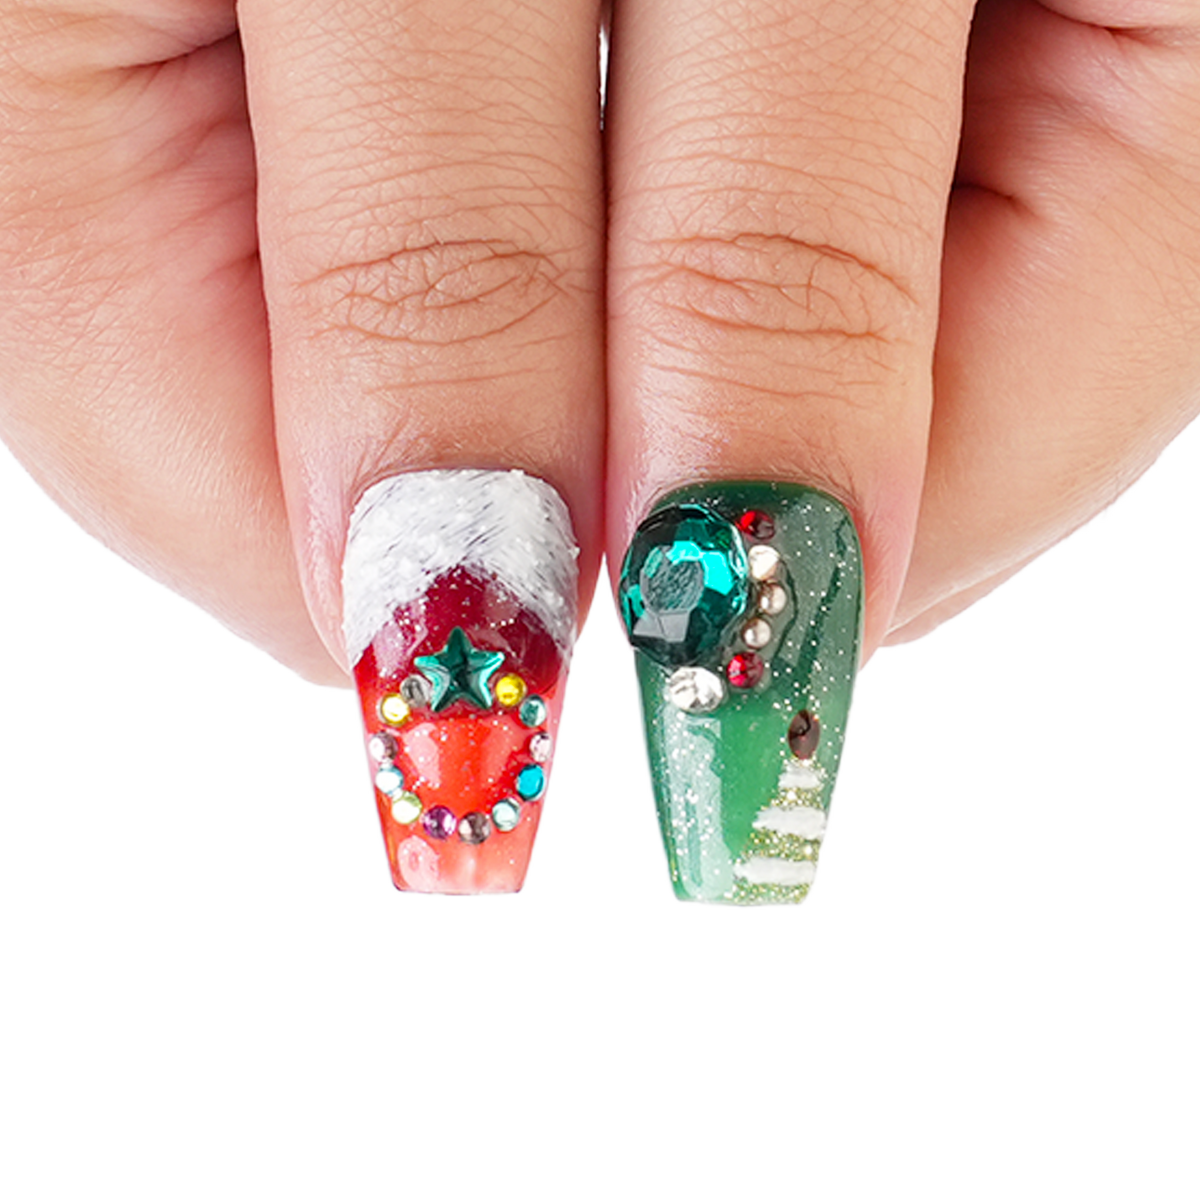
- Festive snowflake details, oversized gem accents, and glossy finishes
- Reusable nails for a salon-inspired holiday manicure at home
- Easy to apply using included nail glue or adhesive tabs
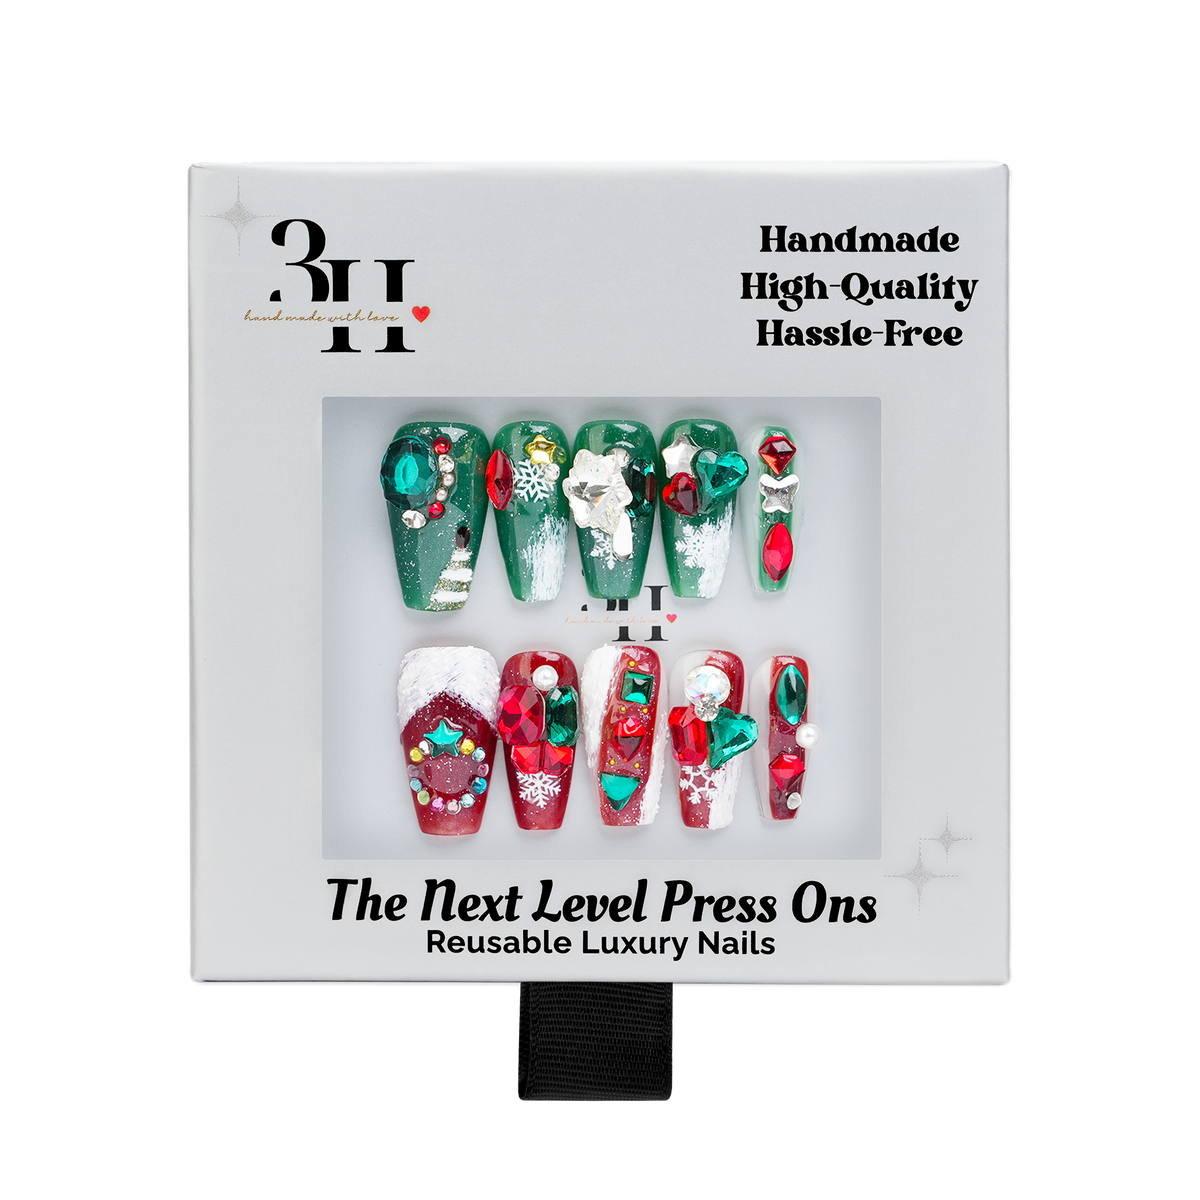
- Includes 10 nails, adhesive tabs, glue, alcohol pad, file, and cuticle stick
Bring the sparkle to the season with Jingle Gems, a dazzling holiday press-on nail set that's anything but ordinary! Featuring rich emerald greens, festive reds, snowy white accents, and oversized gemstone embellishments, this design brings serious holiday glamour to your fingertips.
Handmade in a dramatic long coffin shape, Jingle Gems combines shimmering finishes, sparkling snowflakes, and jewel-inspired details for a manicure that's ready to steal the spotlight. Perfect for holiday parties, festive celebrations, and anyone who likes their Christmas nails with a little extra sparkle.
Features & Benefits
- Handmade, reusable long coffin press-on nails
- Holiday nail art with red and green jewel tones, snowflakes, and sparkling embellishments
- Glossy finish with statement gem accents
- Easy at-home application with glue or adhesive tabs
What's Included
- 10 handmade press-on nails
- Adhesive tabs
- Nail glue
- Alcohol prep pad
- Nail file
- Cuticle stick
How to Use: Clean and dry natural nails, gently push back cuticles, and select the correct nail sizes. Apply with the included adhesive tabs or nail glue following the package instructions, then press each nail firmly into place.
How to Remove: Soak nails in warm, soapy water and gently loosen from the sides. Never force or pry off the nails.
How to Apply
1. Prep your nails
Wash and dry your hands. Gently push back cuticles, lightly buff the surface of your natural nails, and clean each nail with the included alcohol prep pad.
2. Choose your application method
Adhesive Tabs: Select the tab that best fits each nail. Apply it to your natural nail, position the press-on nail, and press firmly for 10–15 seconds.
OR
Nail Glue: Apply a thin, even layer of glue to your natural nail. Position the press-on nail and press firmly for 10–15 seconds.
3H Girlies Pro Tip: Start with your pinkies and work toward your index fingers, saving your thumbs for last. This makes positioning and application easier.
3. Finish
File or shape the press-on nails if needed. Avoid water for at least 1 hour after application to help improve hold.
Removal Instructions
1. Soak your nails
Soak your hands in warm water for a few minutes to help loosen the adhesive.
2. Apply Glue Off Remover
Apply 3H Glue Off Remover between the press-on nail and your natural nail. Gently lift the press-on nail using a cuticle stick. Do not force or peel it off.
3H Girlies Pro Tip: If the press-on nail doesn't lift easily, soak your nails, then reapply the remover and give it more time to loosen the adhesive. Be patient to avoid damaging your natural nails.
3. Finish
Once the press-on nails have been removed, apply cuticle oil to keep your natural nails hydrated and healthy.


